v1.2.1 · MIT
How to use draw.biyik.dev
draw.biyik.dev is a whiteboard with a hand-drawn look that runs in your browser. In this short tutorial we draw a flowchart step by step, then show how to add the board to your own project.
1Getting started
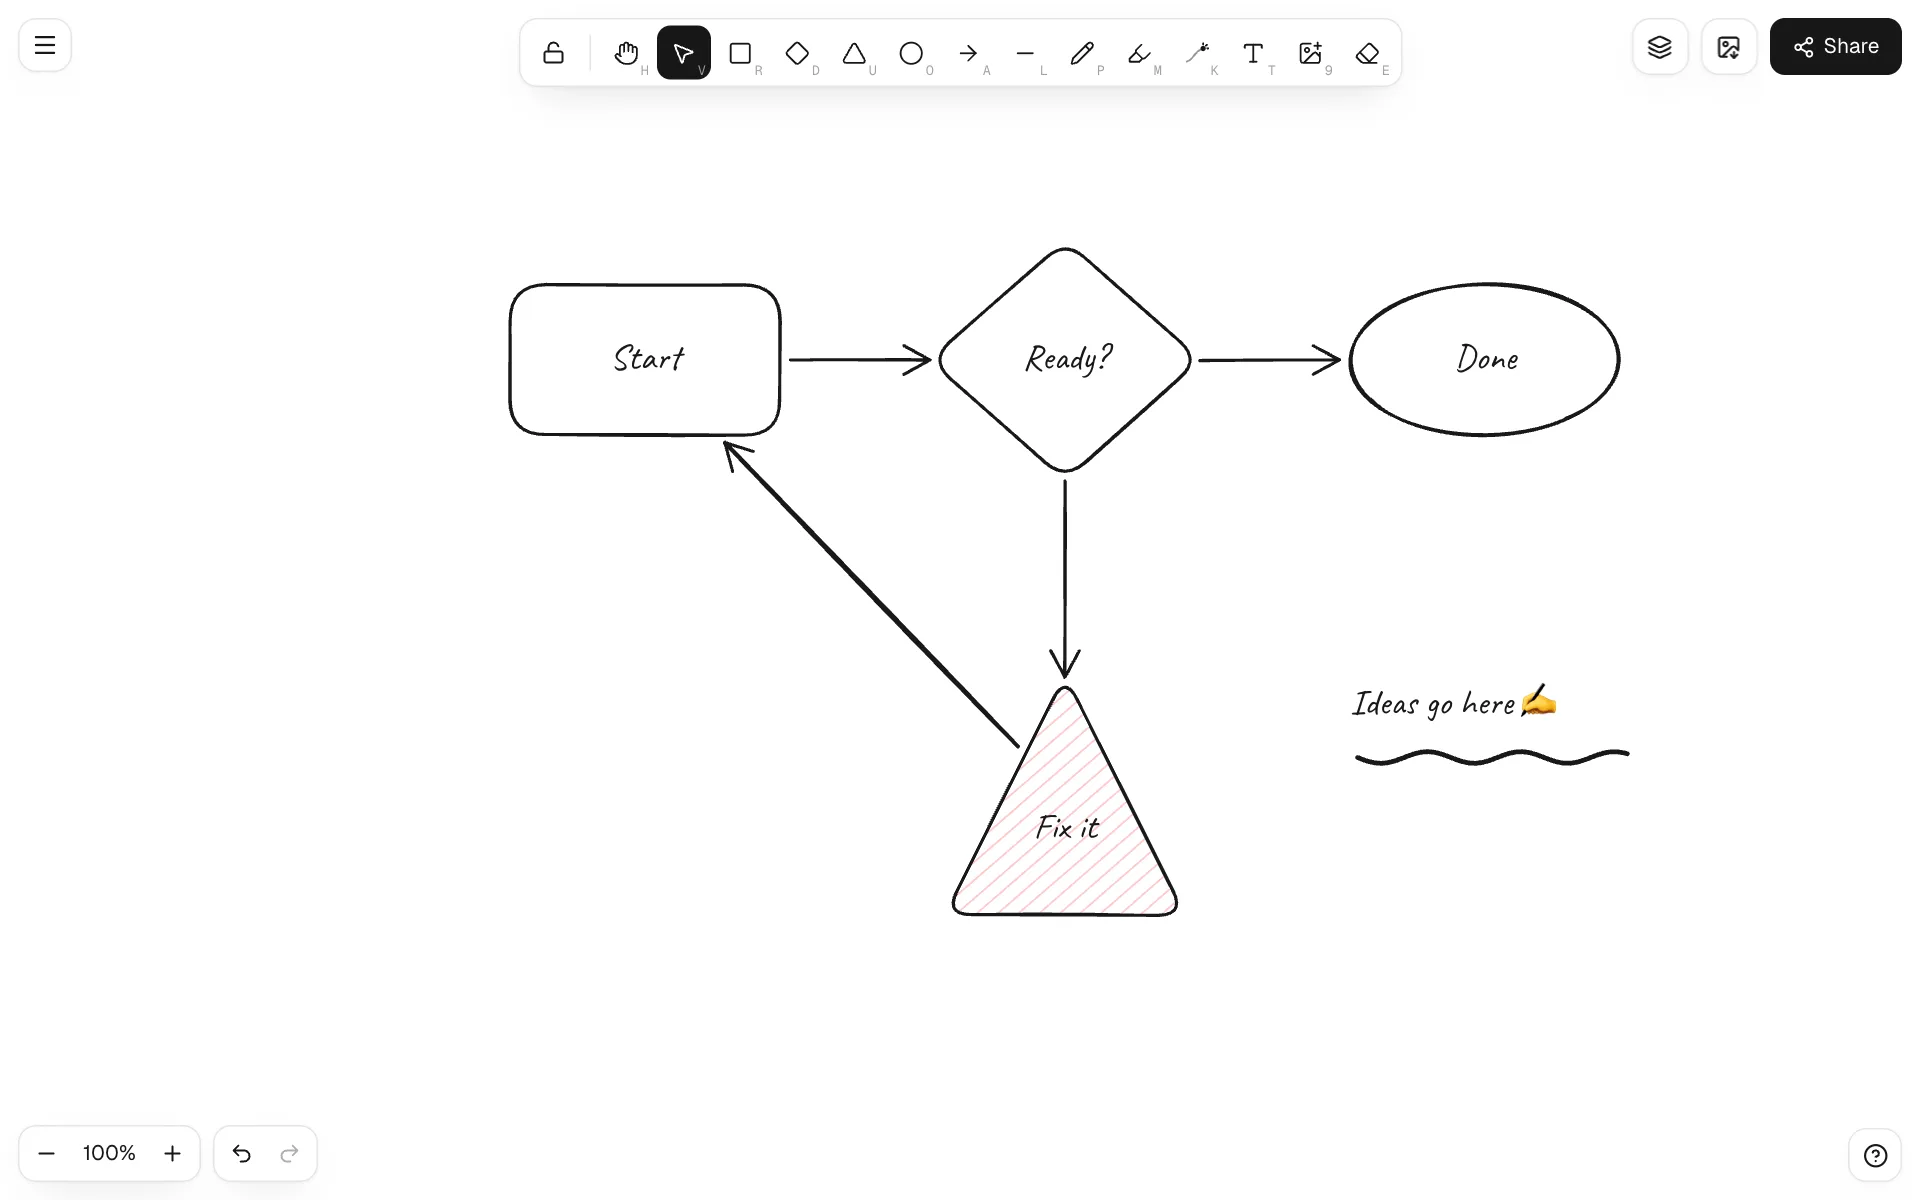
Open draw.biyik.dev. No account or install is needed. While the canvas is empty you see the welcome screen: open a saved file, check the shortcuts, or just start drawing. Your work is saved automatically, only in this browser.
2Draw shapes
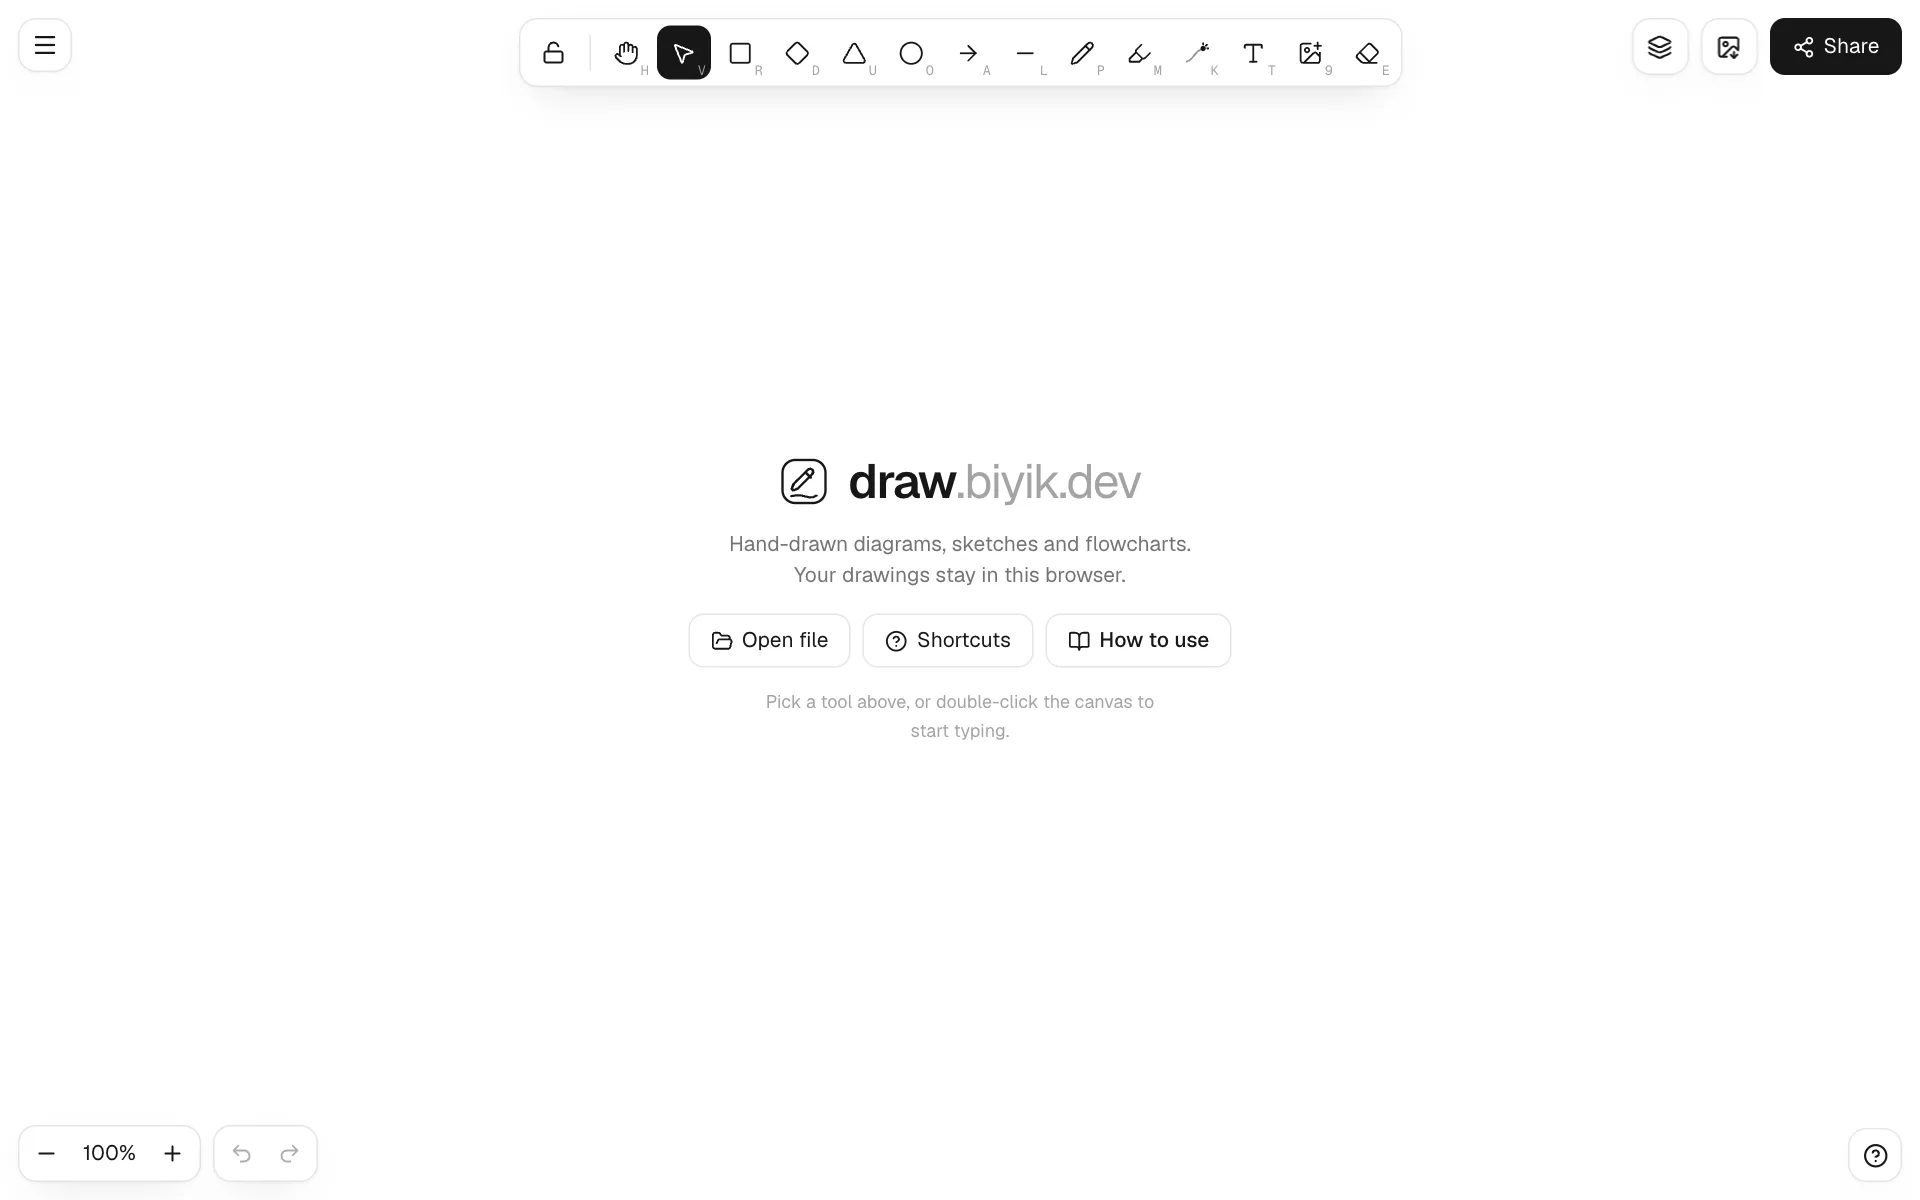
Pick a shape in the toolbar at the top and drag on the canvas. Every tool has a shortcut:
- R rectangle, D diamond, U triangle, O ellipse
- A arrow, L line, P pen, T text, E eraser
- Hold Shift for a square/circle and Alt to draw from the center. With the tool lock (Q) on, the tool stays active after each shape.
With a shape selected, the style panel on the left changes stroke and background colors, fill (hachure, cross-hatch, solid), stroke width, stroke style, sloppiness and edges.
3Text and labels
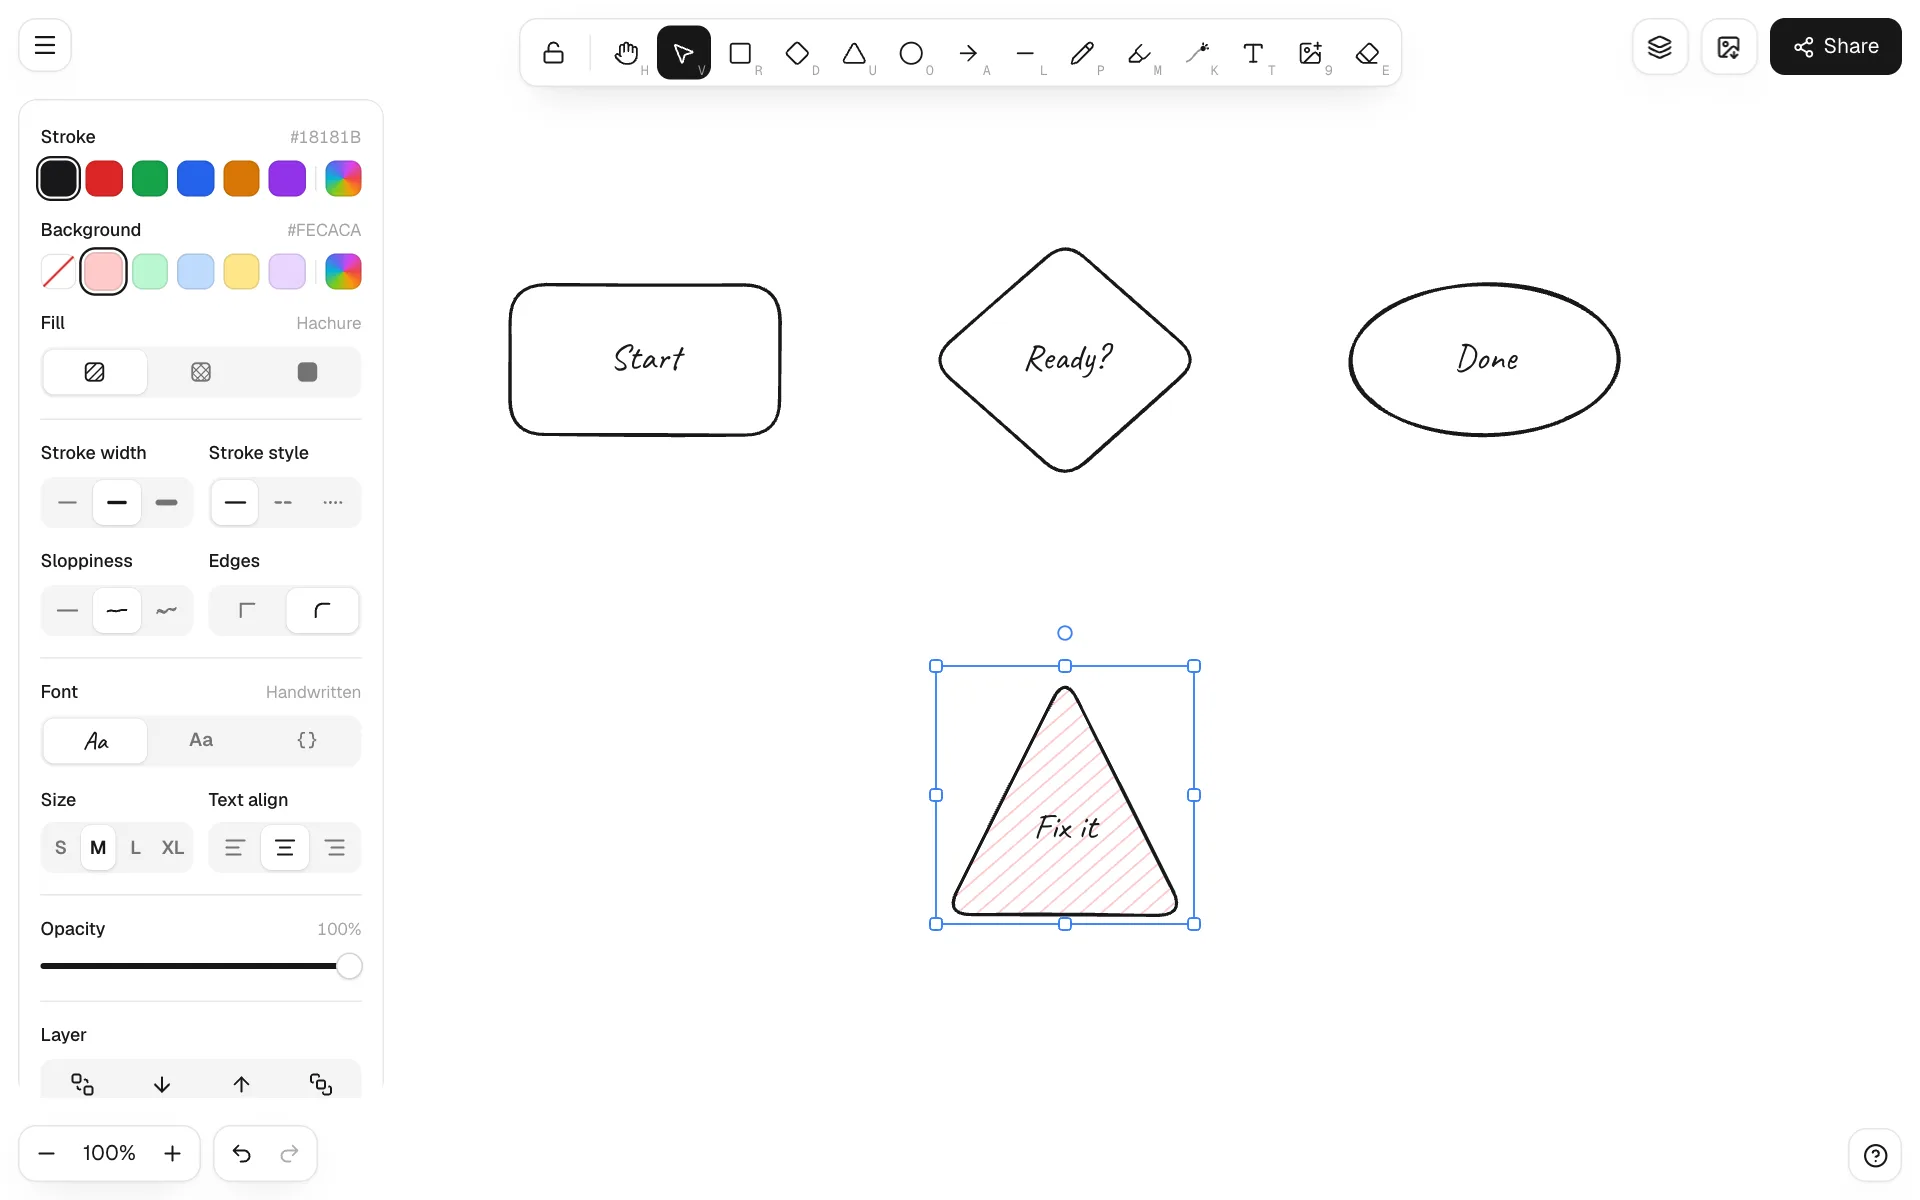
Double-click inside a shape and type: the text becomes the shape’s label and moves with it. Double-click on empty space, or click with T, to add free text. Press Esc or click outside to finish. Font (handwritten, normal, code), size and alignment are in the panel too.
4Arrows and binding
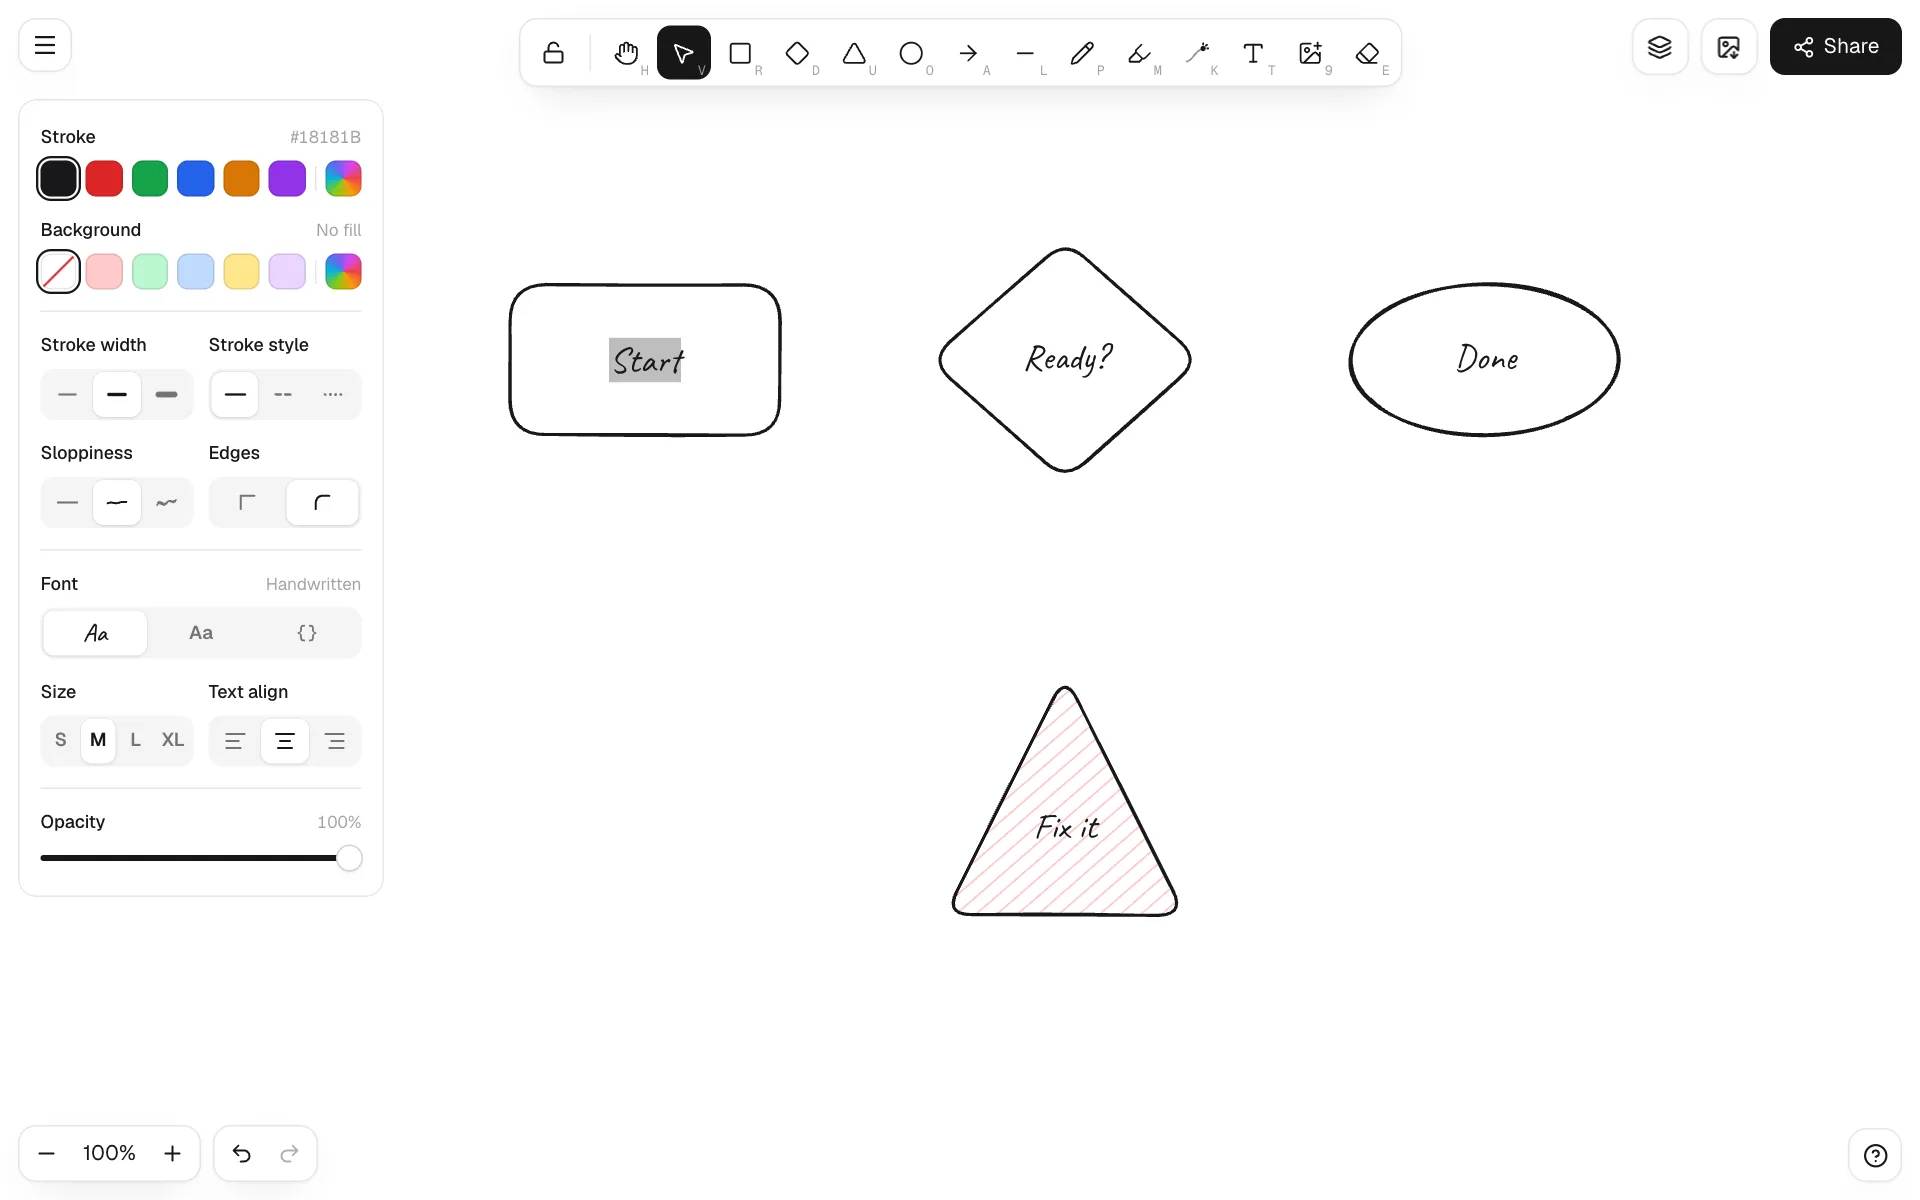
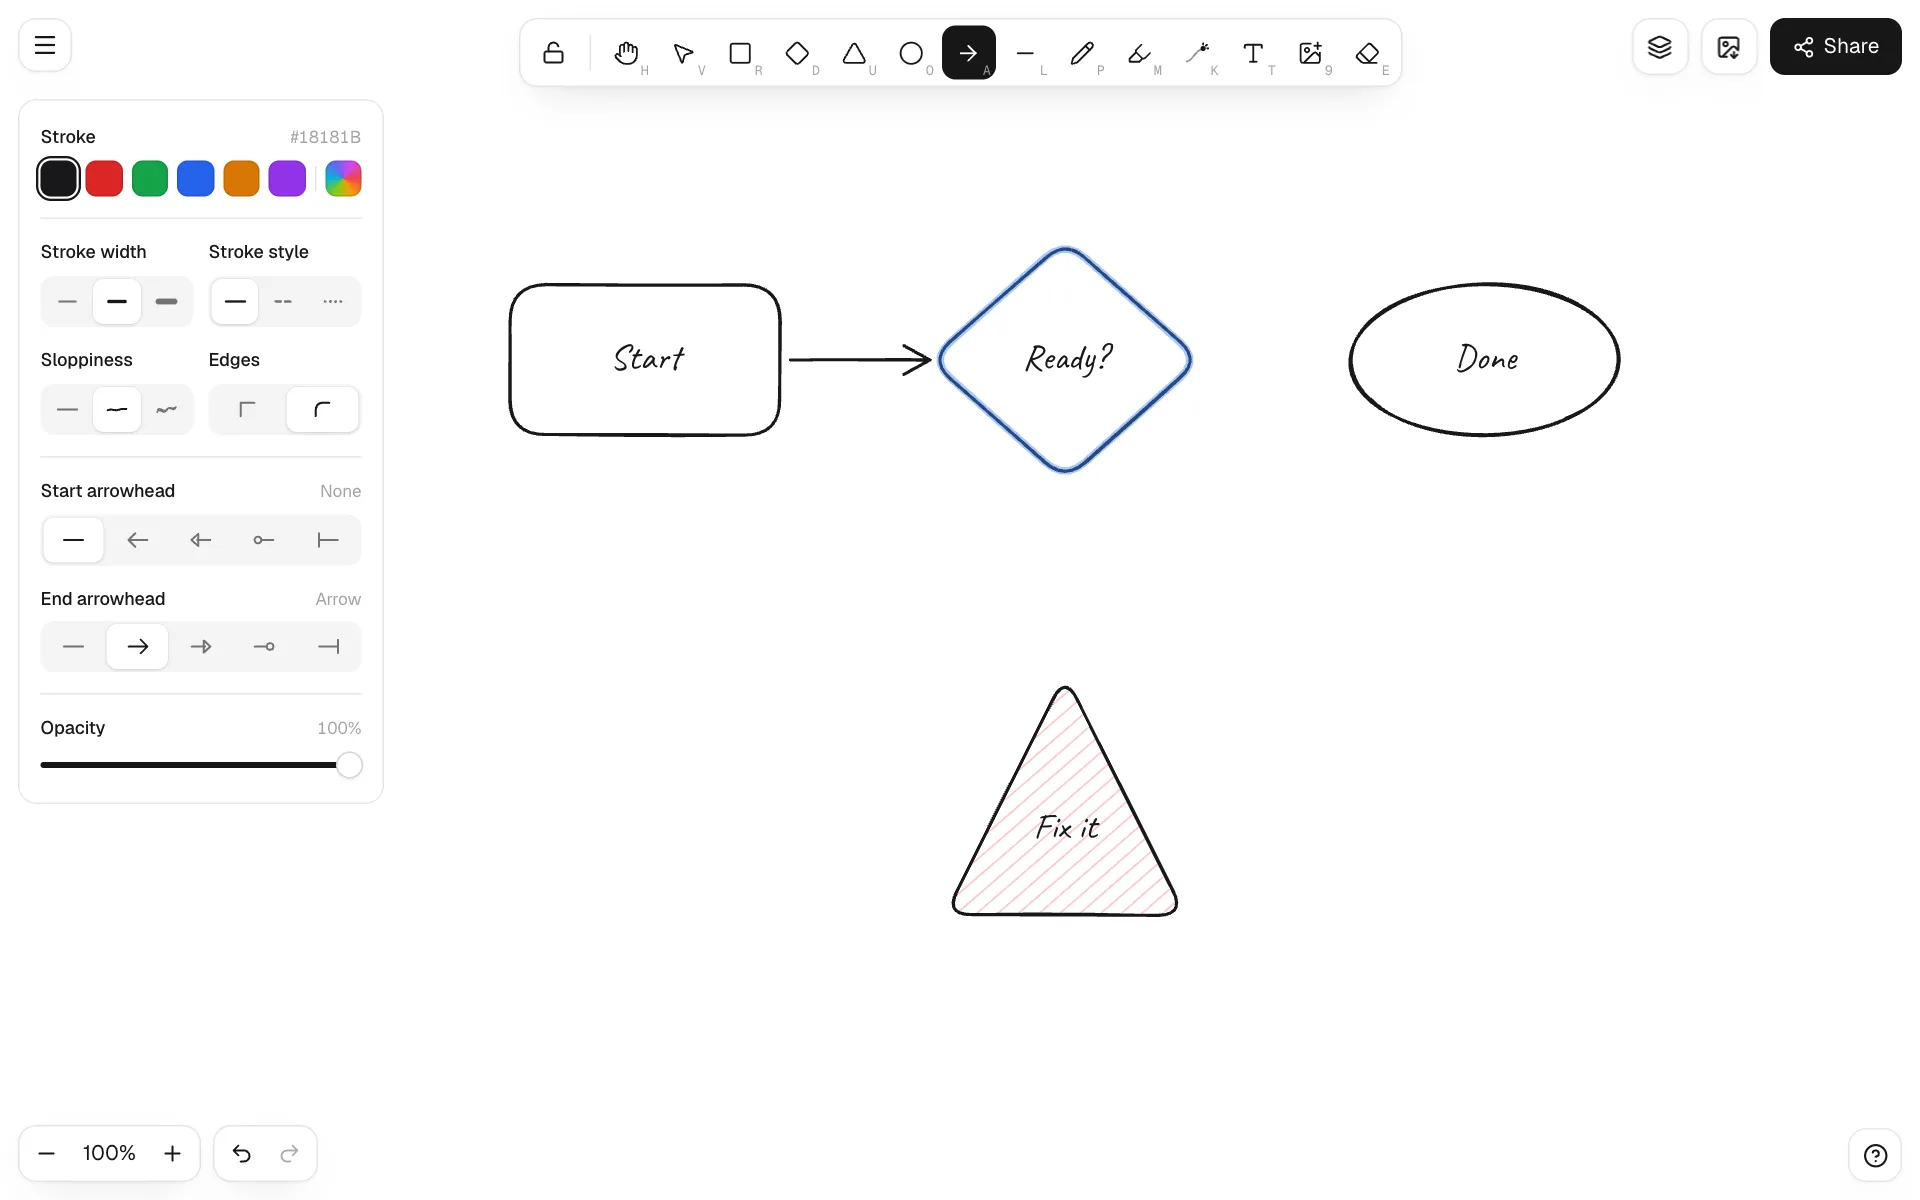
Press A, start inside one shape and drag onto another. The target is highlighted with a blue outline; when you release, the arrow is bound to both shapes. Move, resize or rotate the shapes and the arrow follows. Change arrowheads in the panel (arrow, triangle, dot, bar), or click point by point to draw a multi-point line.
5Select, move, rotate
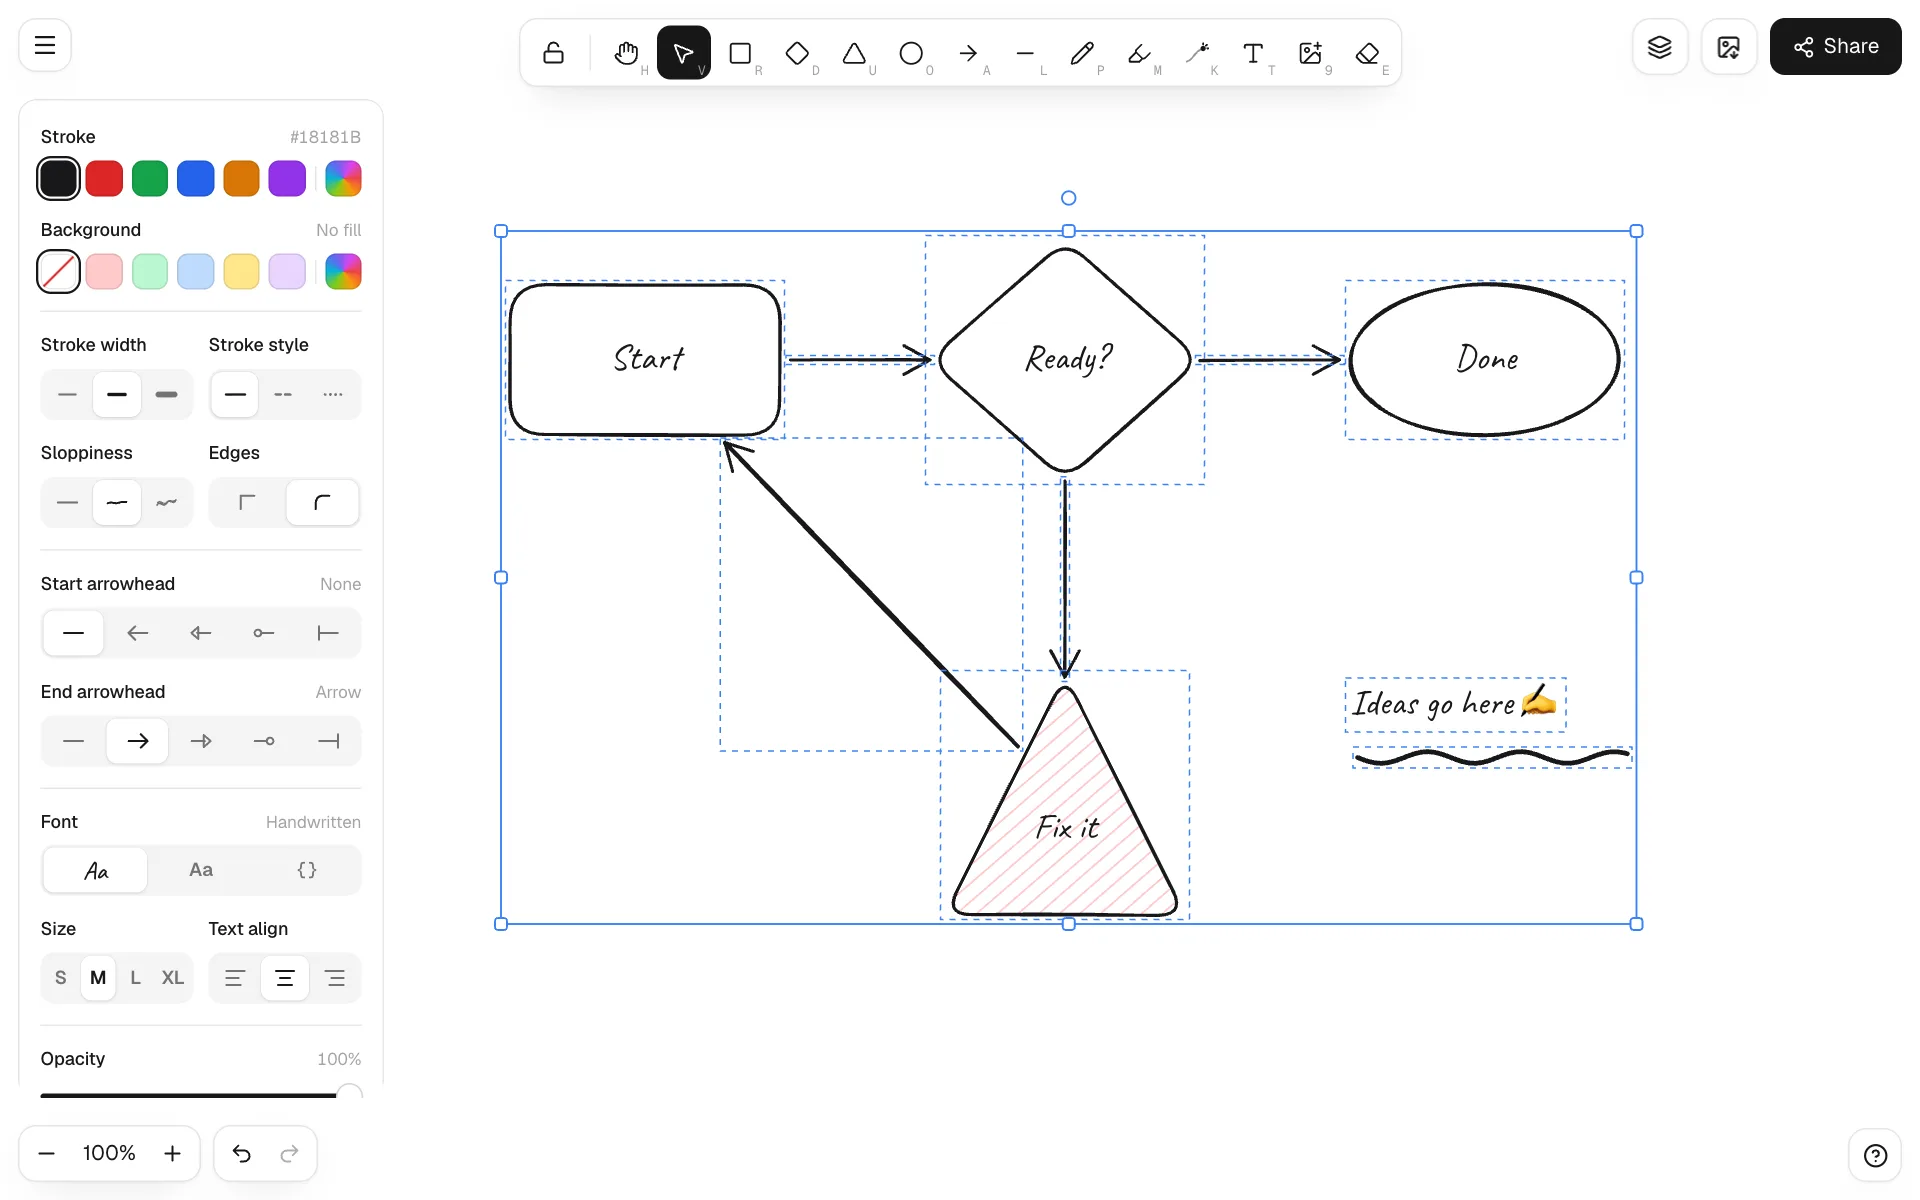
- Click to select, drag on empty space for a box selection, add to it with Shift.
- Corner handles resize, the round handle on top rotates (Shift snaps to 15°).
- Alt-drag duplicates; ⌘D duplicates in place, ⇧H/⇧V flip.
- With several elements selected, align and distribute them from the panel.
6Layers and groups
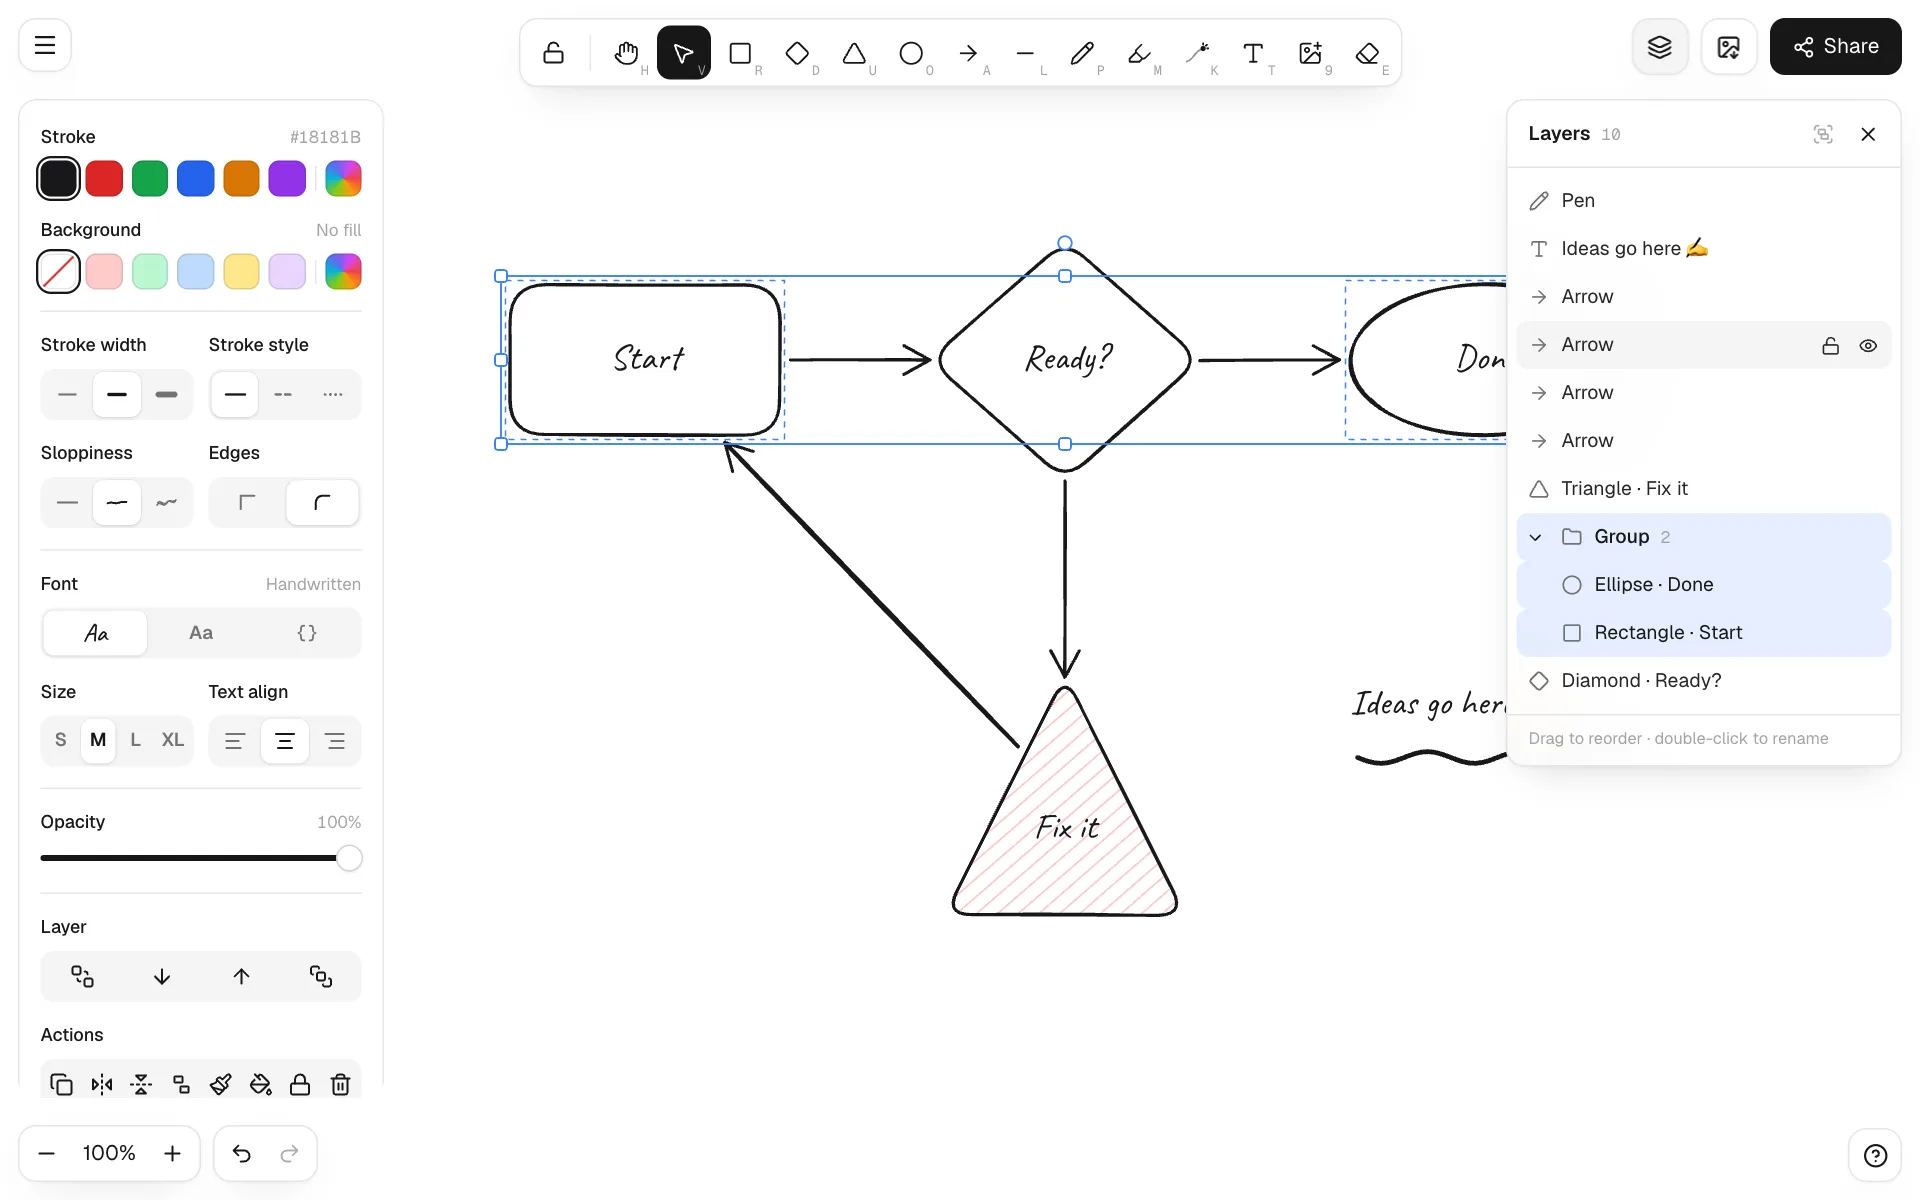
The layers button at the top right (⌥L) lists every element. Drag rows to reorder, double-click to rename; the eye hides an element and the lock makes it unselectable on the canvas. Group a selection with ⌘G: groups appear as collapsible folders and move together.
7Menu and files
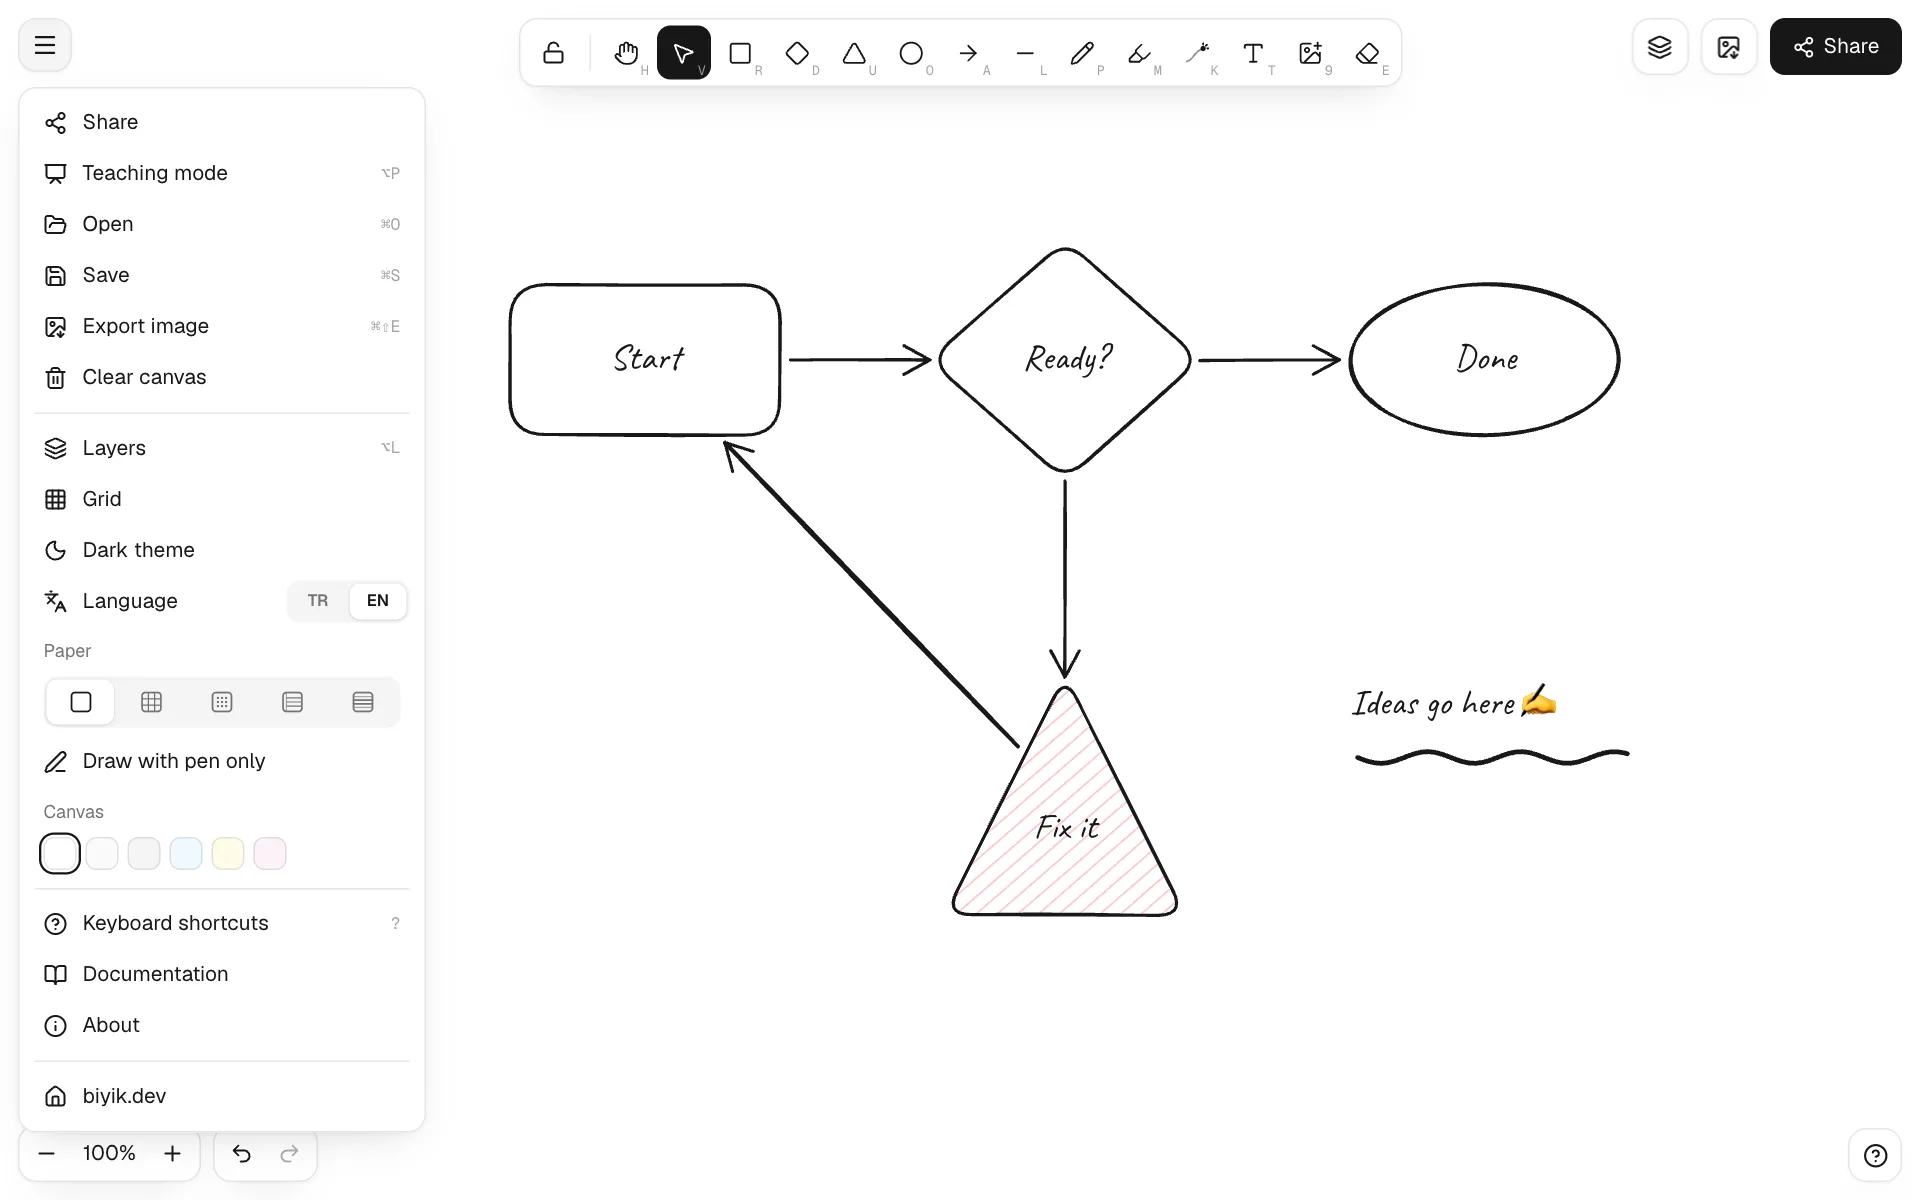
The menu at the top left opens (⌘O) and saves (⌘S) files. Saves use our own .biyikdraw format, so you can continue on another device. Grid, theme, language (TR/EN) and canvas color live here too.
8Export
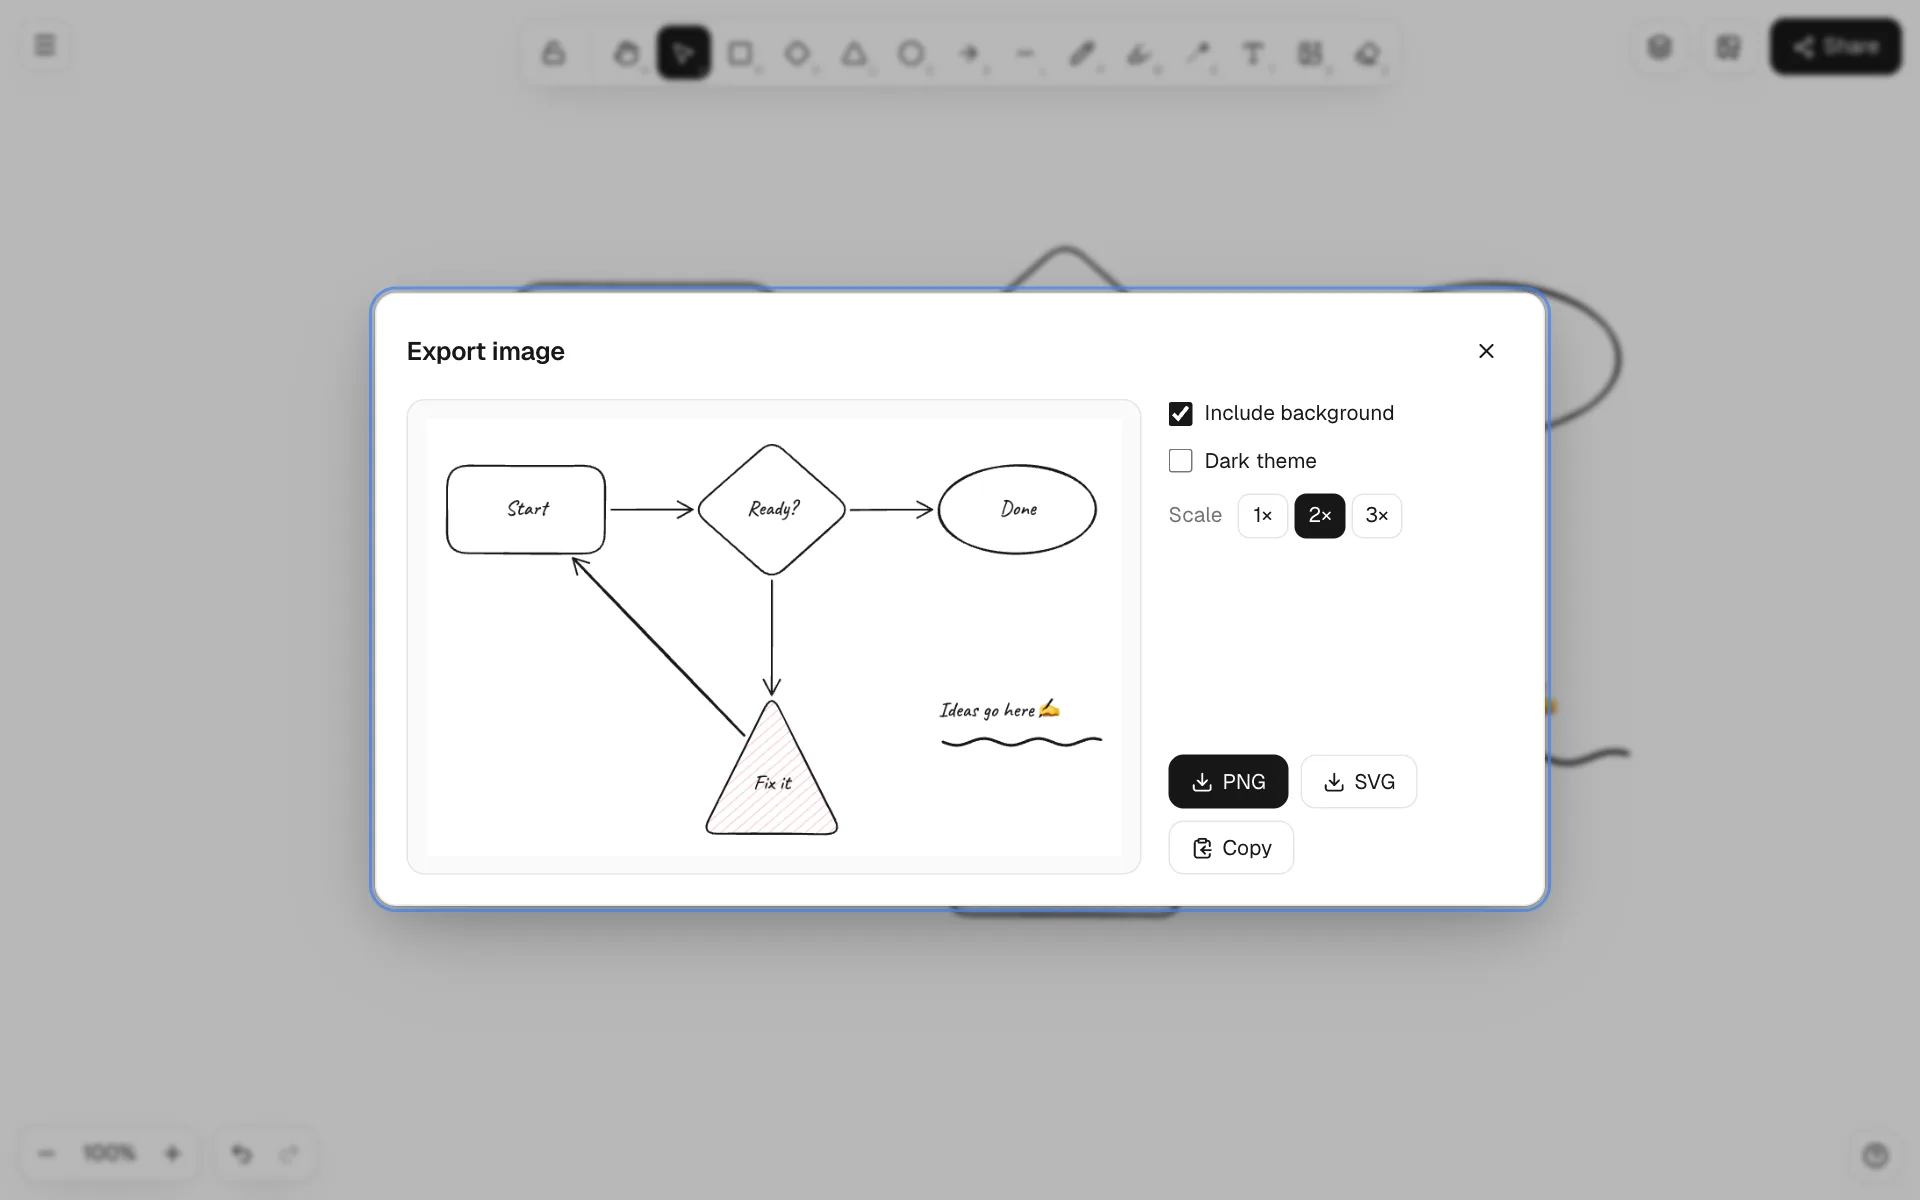
Export (⌘⇧E) downloads the drawing as PNG or SVG, or copies it to the clipboard. Choose selected elements only, with or without background, light or dark, at 1×–3× scale.
9Share and offline
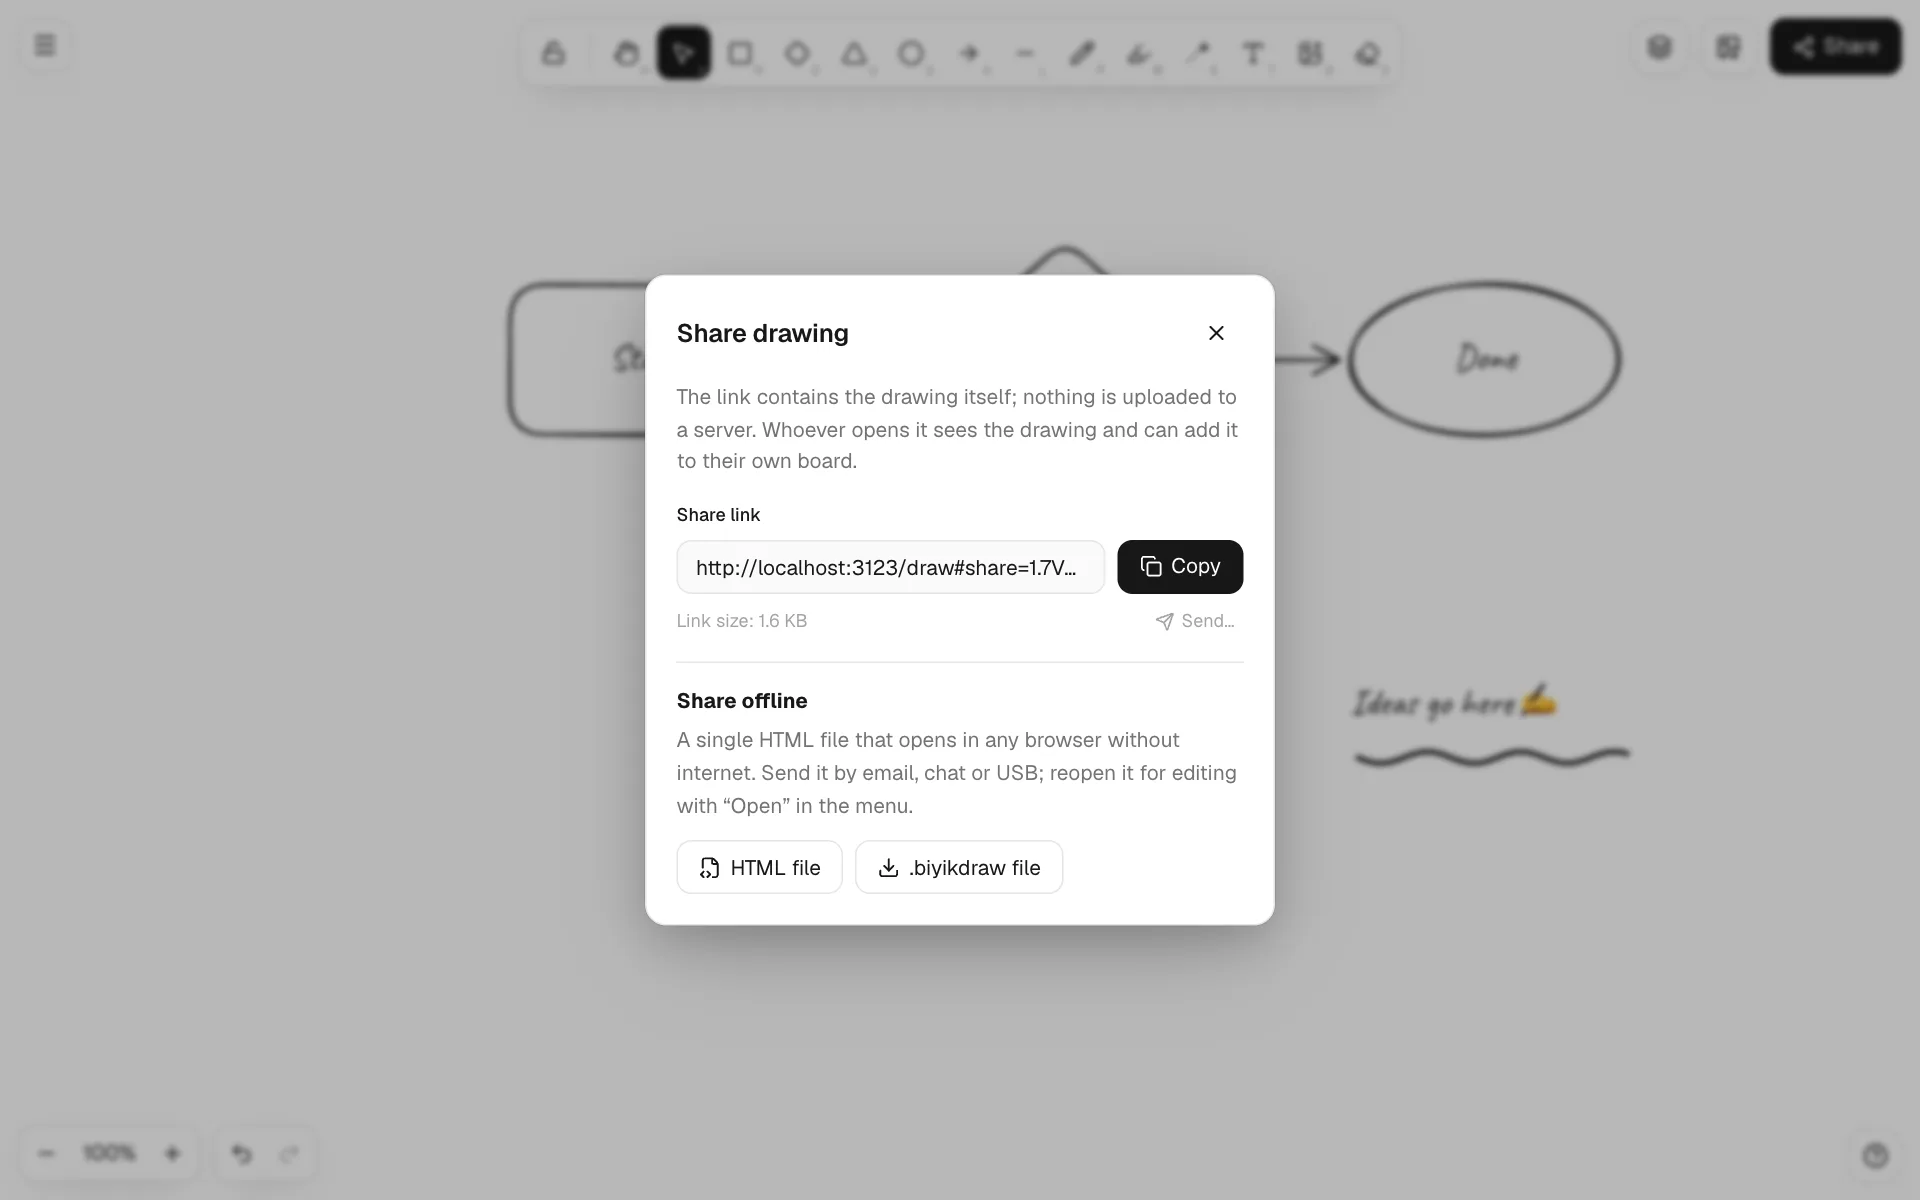
The Share button at the top right creates a link. The link contains the drawing itself (compressed); the # part of a URL is never sent to a server, so your drawing is not uploaded anywhere and no account is needed.
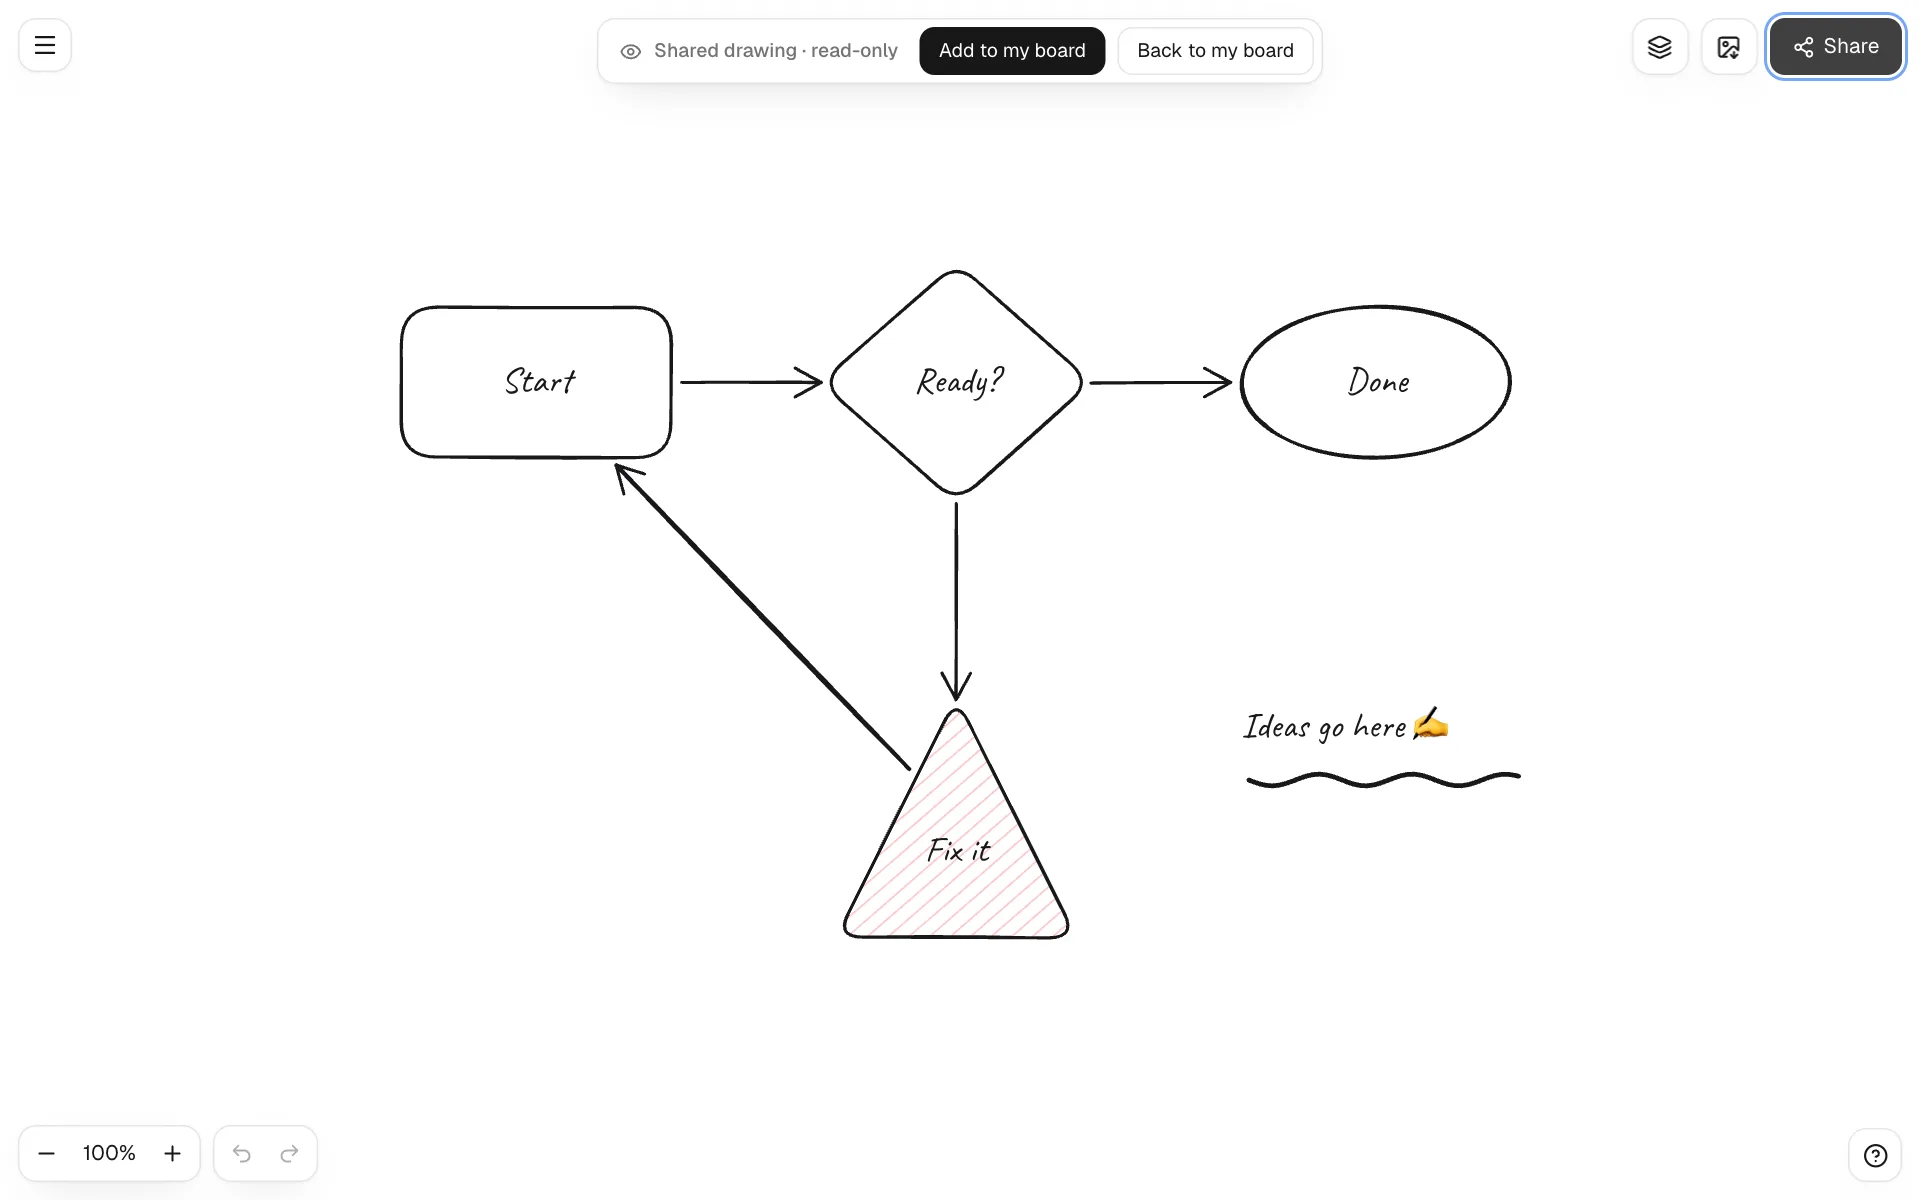
- Whoever opens the link sees the drawing read-only; they can pan and zoom, and copy it into their own board with Add to my board. Their own drawings are kept.
- Offline sharing: the “HTML file” is a single file that opens in any browser without internet (fonts included). Send it by email, chat or USB; reopen it for editing with “Open”.
- After the first visit draw.biyik.dev works without internet, and share links open offline too.
10For teachers and tablets
For teachers who teach from a tablet: mirror the board to a projector or smart board and explain with the pen.
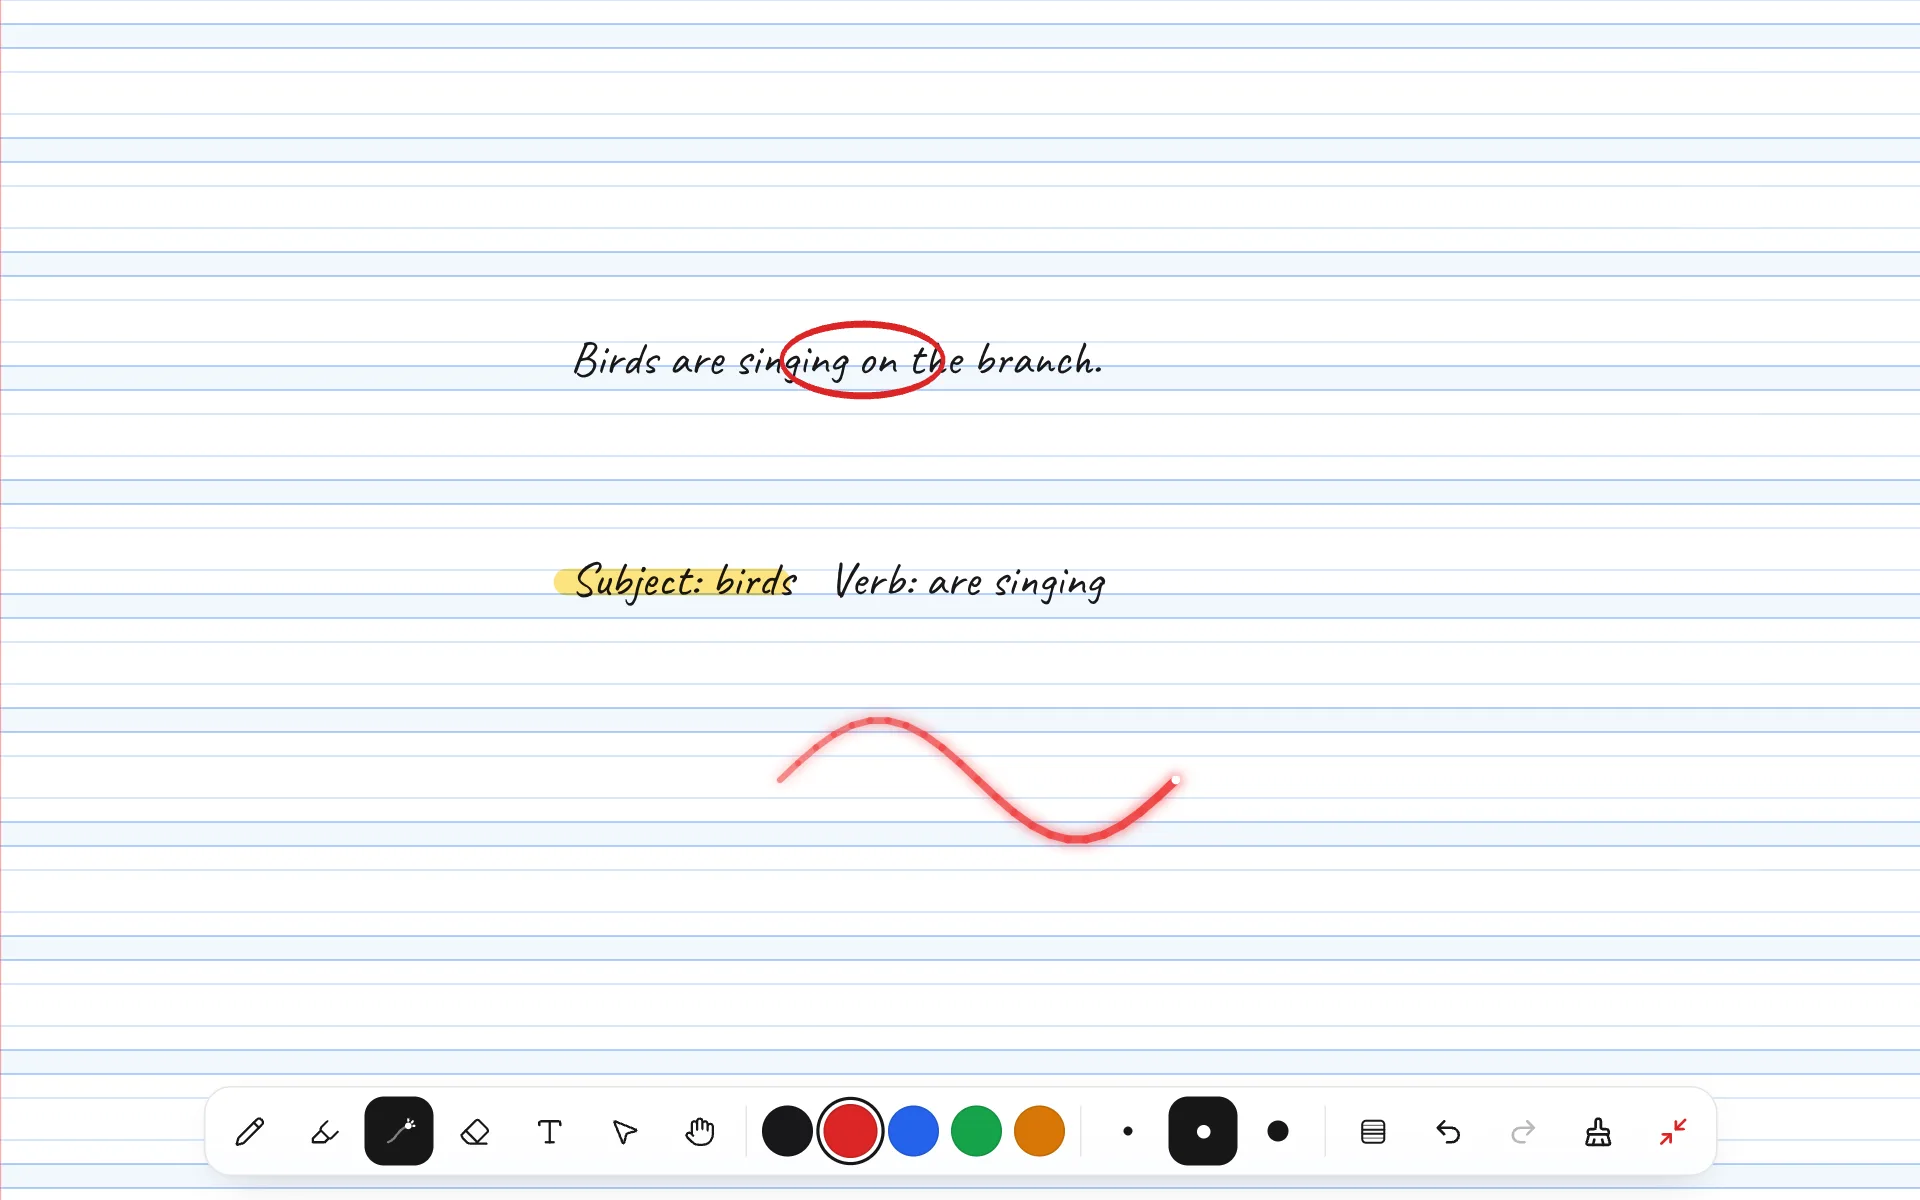
- Teaching mode (⌥P or the menu): full screen, distraction-free. Big buttons at the bottom for pen, highlighter, laser, eraser, five colors, three widths, paper pattern, undo and new page.
- Paper patterns: grid, dotted, lined and handwriting paper (the four-line guide used to teach handwriting). The pattern scales with the board and can be included in exports.
- Highlighter (M): marks text without covering it, for subjects, verbs or new words.
- Laser pointer (K): point without drawing; the trail fades in a second.
- Pen pressure: with Apple Pencil and similar pens the stroke gets thicker as you press, so handwriting looks natural.
- Palm rejection: once a pen is detected, fingers and palms pan and zoom instead of drawing. Turn it off with “Draw with pen only” in the menu.
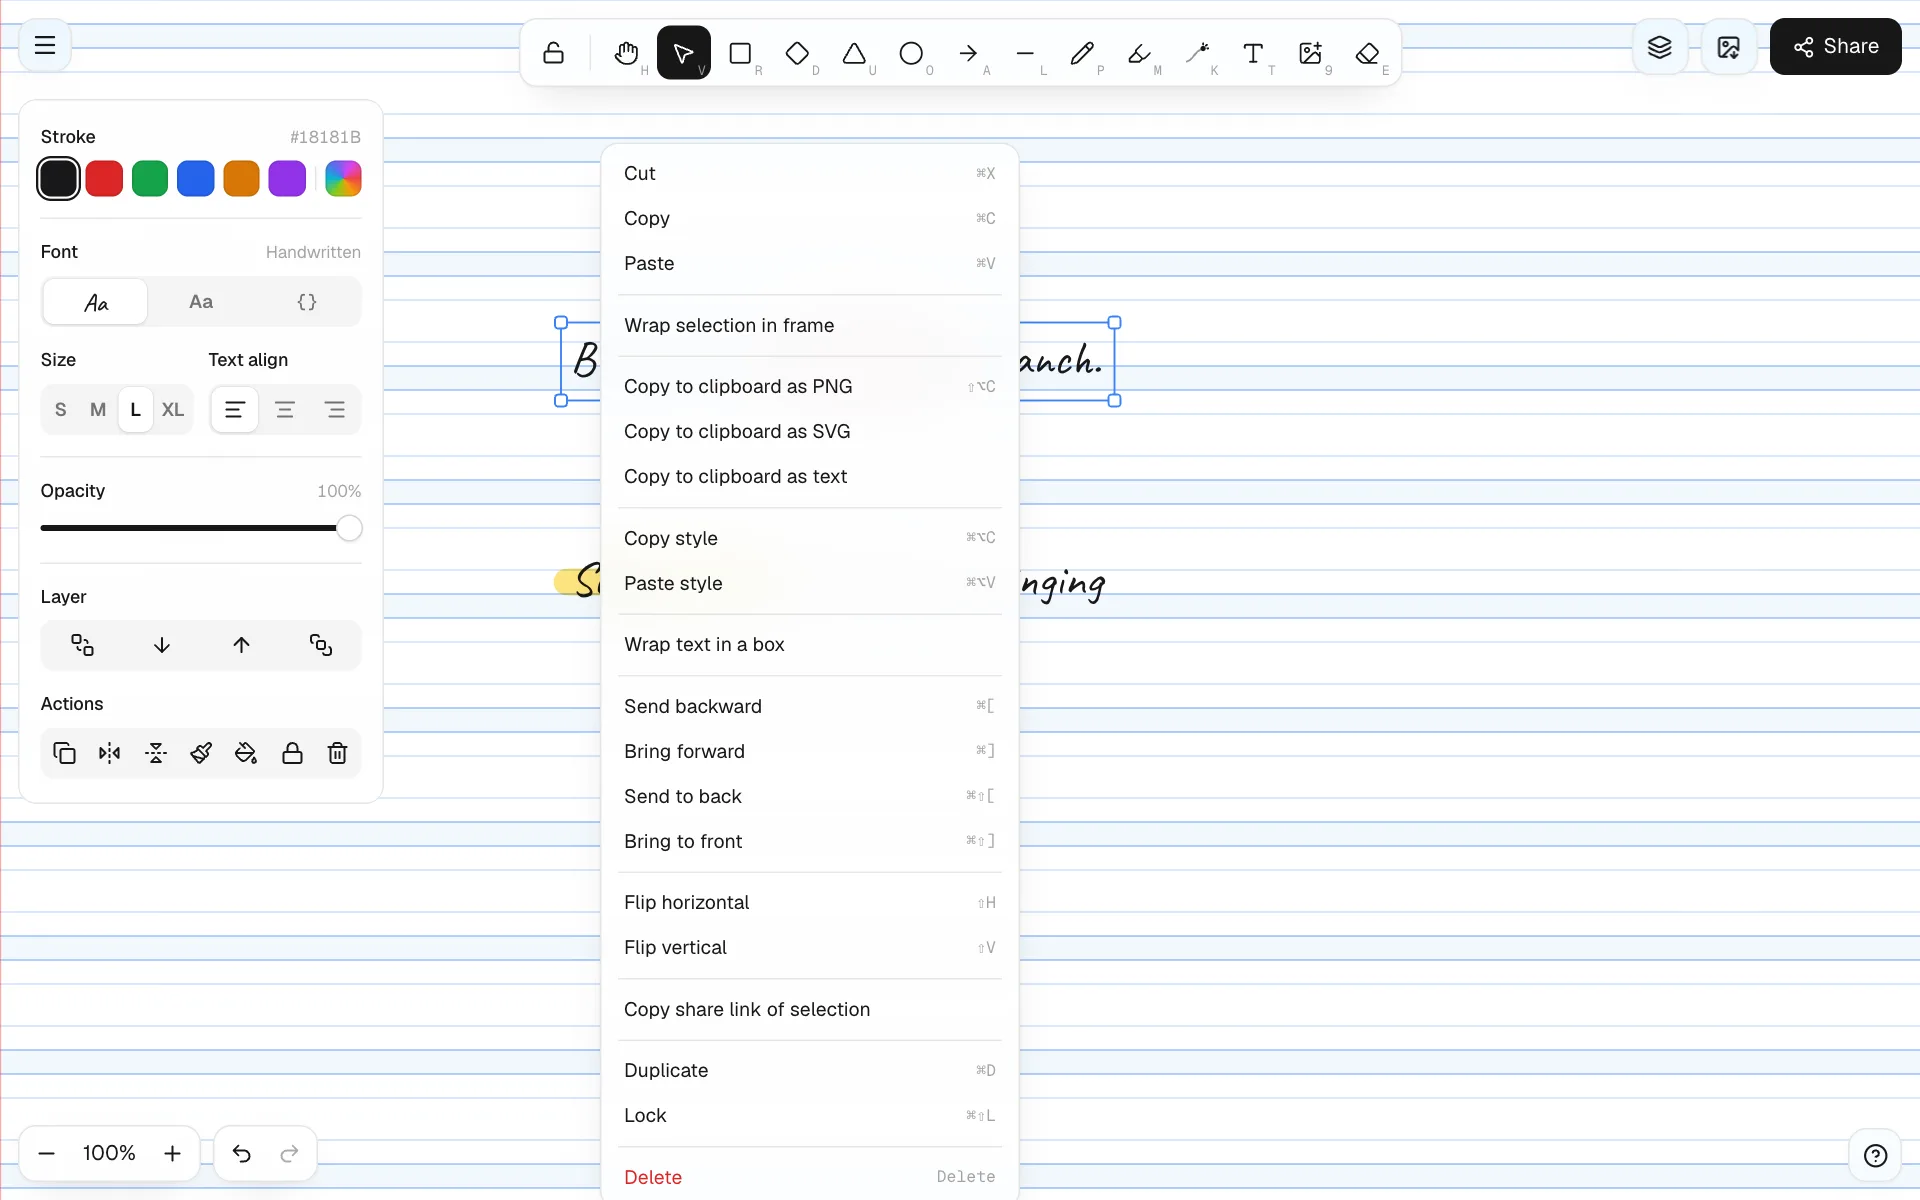
- Context menu: right-click on desktop, press and hold on a tablet. Cut, copy, copy as PNG/SVG/text, copy style, bind text to a shape, wrap text in a box, wrap in a frame, layer order, flip, lock.
11Dark theme and mobile
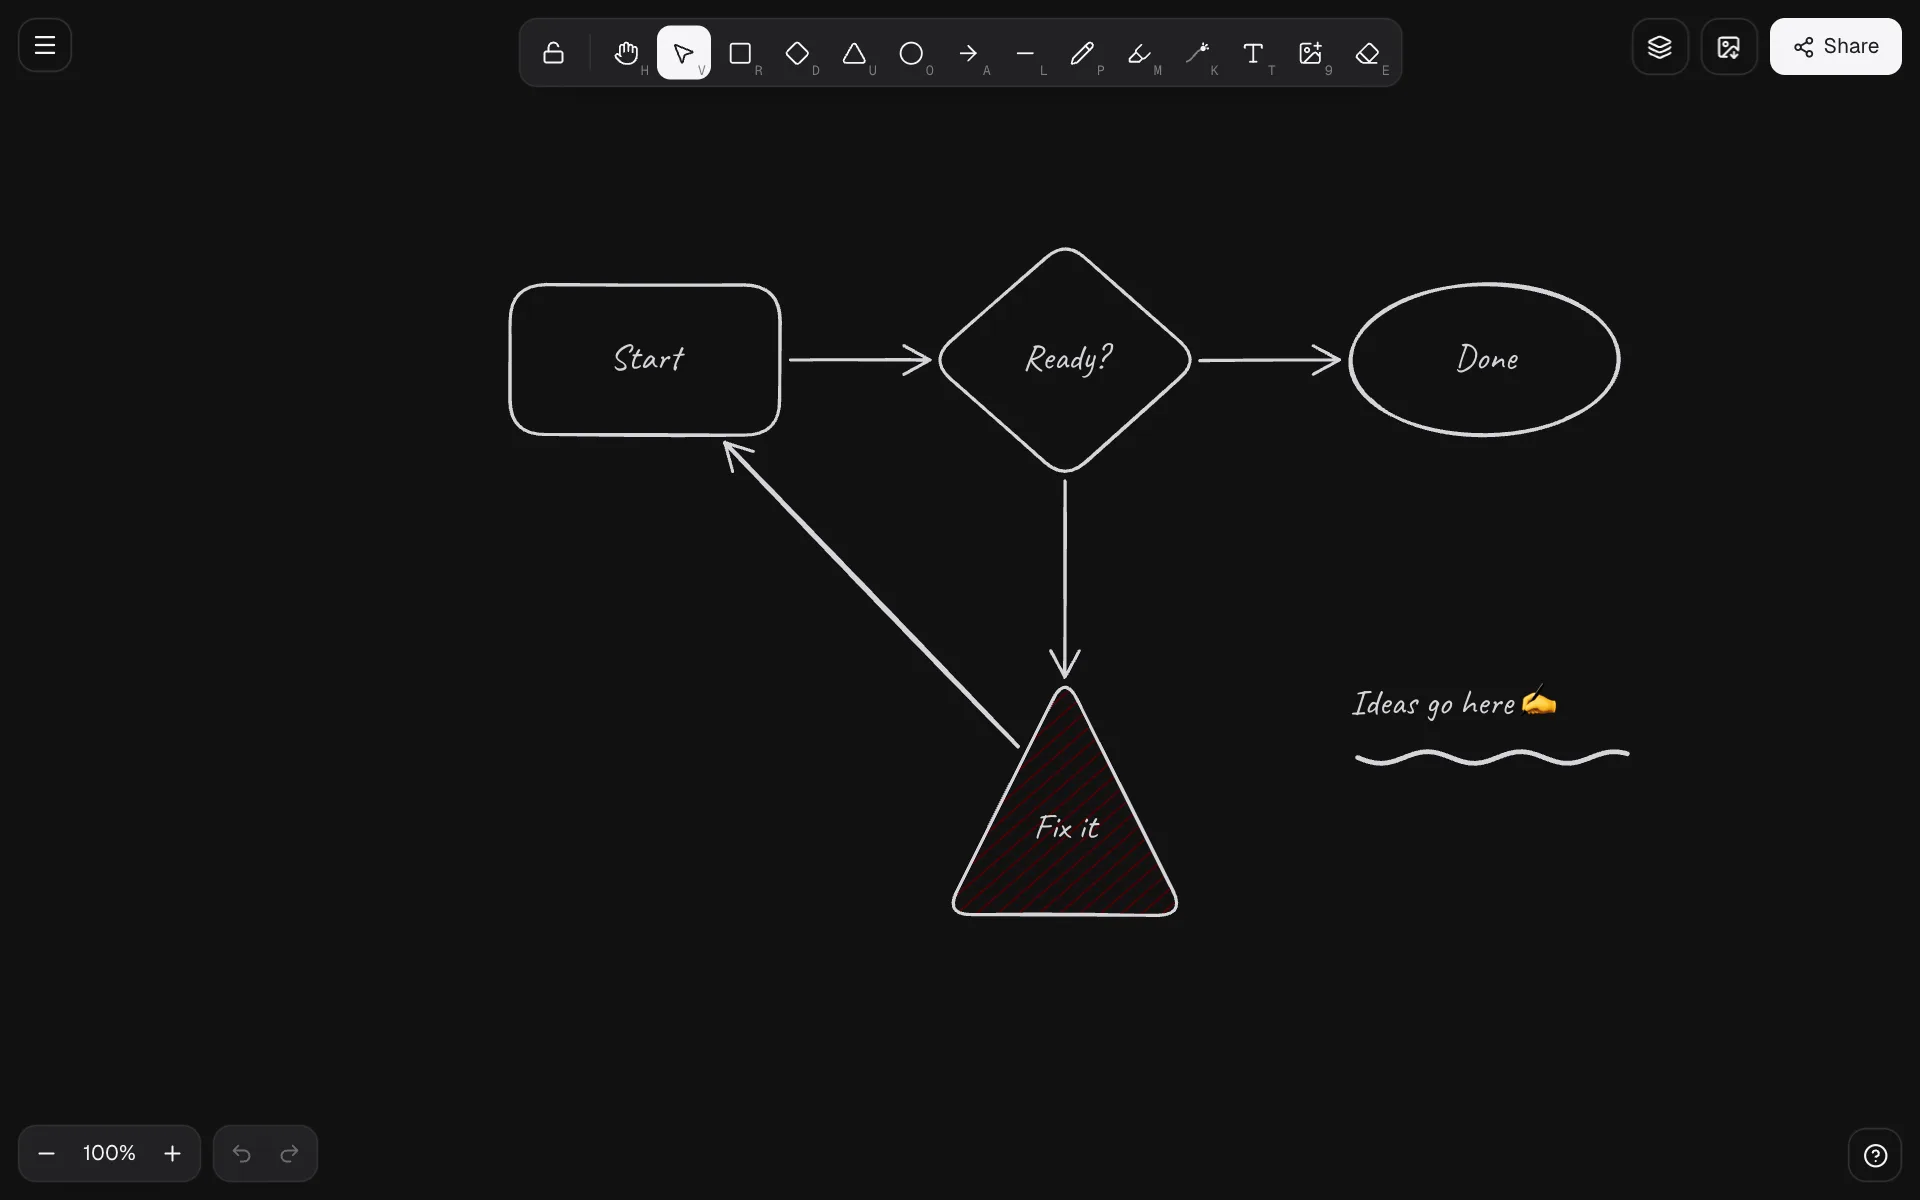
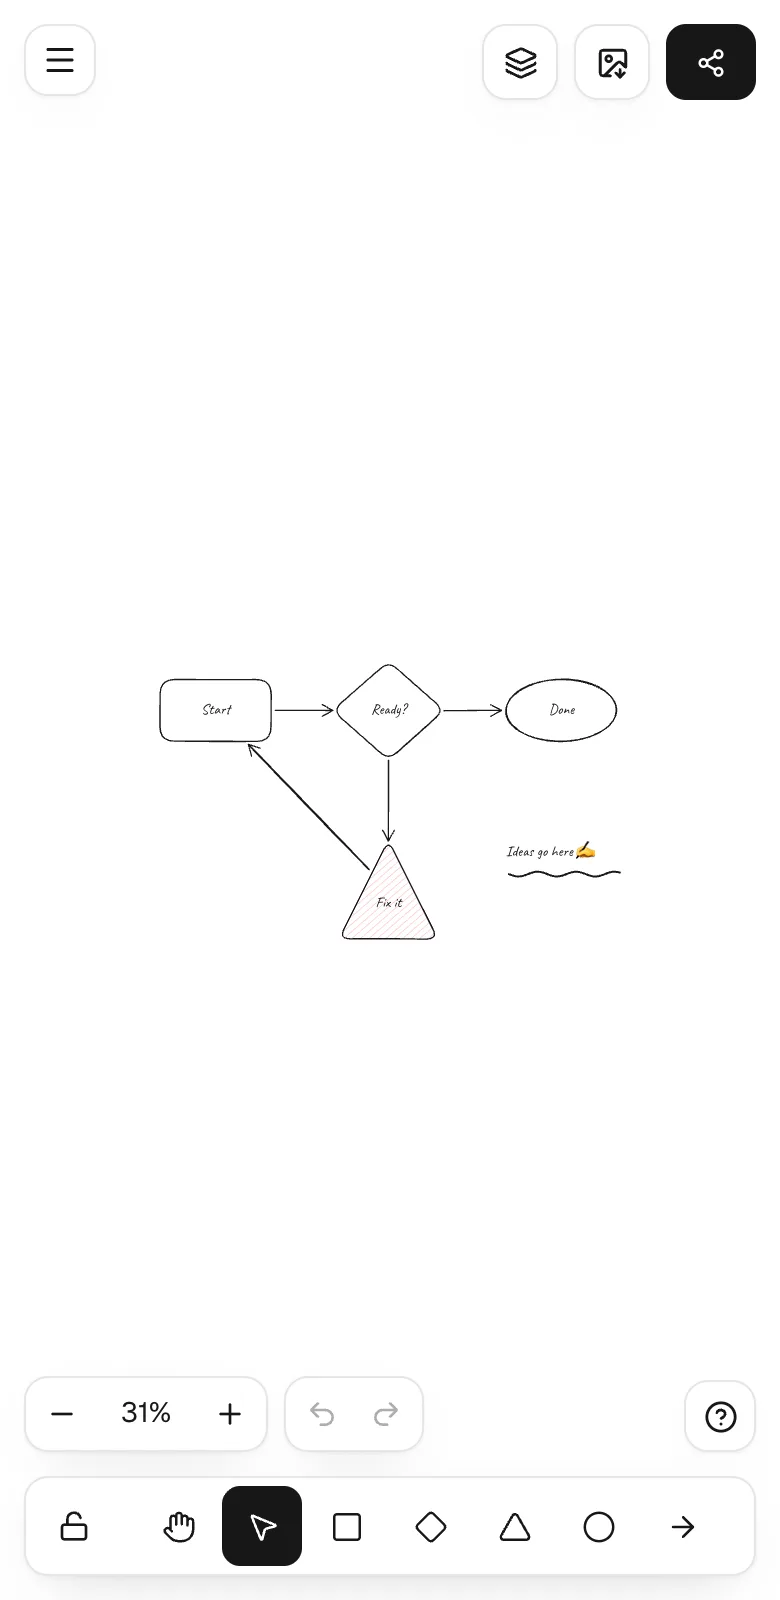
Colors adapt automatically in dark mode. On phones the toolbar moves to the bottom; pinch to zoom and pan, and open the style panel with the sliders button.
12Shortcuts
On Windows and Linux use Ctrl instead of ⌘.
13Add it to your project
The board is open source and does not depend on any third-party drawing library. The source is on GitHub. Install it from GitHub and drop it into your React app:
npm install github:metinfarukbiyik/biyik-draw
# peer dependencies
npm install react react-dom lucide-react
import { Draw } from 'biyik-draw/react';
import 'biyik-draw/styles.css';
export default function Whiteboard() {
return (
// The board fills its positioned parent
<div style={{ position: 'relative', height: 640 }}>
<Draw lang="en" storageKey="my-board" />
</div>
);
}In Next.js, load the component on the client only:
'use client';
import dynamic from 'next/dynamic';

// Canvas and IndexedDB are browser-only: skip SSR
const Whiteboard = dynamic(() => import('./Whiteboard'), { ssr: false });
Add the Caveat font for handwriting:
<!-- Handwriting font (Caveat) — or: npm i @fontsource/caveat -->
<link rel="stylesheet" href="https://fonts.googleapis.com/css2?family=Caveat:wght@400..700&display=swap" />
Props
lang'tr' | 'en'UI language; defaults to the browser language.storageKeystringIndexedDB key (default sketch).initialTheme'light' | 'dark'Initial theme; defaults to the system.onThemeChange(theme) => voidCalled when the theme changes.handFontstringCSS font-family for handwriting.brandReactNodeLogo on the welcome screen.links{ label, href, icon }[]Links at the bottom of the menu.docsUrlstringDocumentation link in the menu.aboutAboutInfoContent of the About dialog.Engine only
Use the engine directly to read scenes and produce SVG/PNG without the UI:
import { Editor, exportToSvg } from 'biyik-draw';

const editor = new Editor();
editor.load(JSON.parse(fileText)); // a .biyikdraw file

const svg = exportToSvg(editor.elements, editor.files, {
  background: '#ffffff',
  theme: 'light',
  scale: 1,
});
Colors are .sk-app customizable through the --sk-* CSS variables on it.
14Privacy and license
Drawings and images are stored only in your browser (IndexedDB); nothing is sent to a server. The code is MIT licensed: use it, change it and ship it in your own projects.